Recorder for Beginners: First Steps
· Updated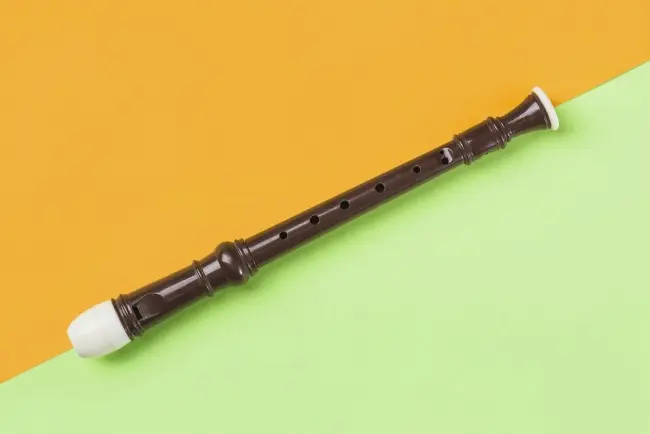
The recorder is a common first wind instrument: a note sounds as soon as you blow, and the fingers do most of the work of choosing the pitch. Here is how to begin: which recorder to get, how to hold it, how to blow and what to work on in the first weeks.
Which Recorder to Get
Most beginners start on a soprano recorder, the small, high-voiced member of the family. The alto works too: it is bigger and lower. A well-made plastic model is enough for the first lessons, but ask the teacher before buying whether you need Baroque or German fingering. For more on choosing, see Choosing Your First Recorder: A Guide for Beginners.
Holding the Instrument
A recorder has seven holes on the front and one on the back for the thumb. The left hand goes on top: its thumb closes the back hole, and its first three fingers close the top three holes on the front. The right hand sits below and covers the remaining four. Use the pads of your fingers and seal each hole fully without squeezing. The lips rest lightly around the beak, and the lips together with the right thumb carry the weight.
First Sound and Breathing
A recorder takes very little air, far less than reed or brass instruments. Blowing hard pushes a note sharp, and blowing harder still jumps it into the upper register with a shrill tone. So blow softly and steadily, and start each note with the tongue as if quietly saying “doo.” For exercises that build an even breath, see Breathing Techniques in Recorder Playing.
The First Weeks
- Notes and fingering. Start with the hand position and a few first notes, then the moves between them and short tunes.
- Reading music. At the same time, learn note values, rests and rhythm patterns. A good starting point is Learning the Notes: Basics for Playing the Recorder.
- Articulation. Try playing notes both separated and smoothly connected.
- A first piece. An easy piece can be prepared for your first online performance.
What You Need for an Online Lesson
Besides the recorder, you need a stable internet connection and a computer or tablet that has both a camera and a microphone. Set the device up so the teacher can watch your face, both of your hands and the full length of the recorder. Headphones make explanations easier to hear, and we send the sheet music ahead of time.
Practicing at Home
- How long. About 20 minutes a day to begin with; for a young child, a few short sessions. The teacher will fine-tune this.
- How. Work on a hard spot on its own and at a slower tempo. If it still does not work, write down a question for the next lesson.
- Lessons per week. We recommend two.
How to Get Started
In our recorder course, students learn to hold the instrument properly and control their breathing, read notes and rhythms, and learn favorite tunes and pieces in a range of styles, with the option of performing at online concerts. Lessons are open to students from age 5. A trial lesson costs $8: it is individual and lasts 45 minutes. More about the course is on the Recorder page.


