Creating your first sculpture can be an exciting and rewarding experience. This process requires patience, attention to detail, and a bit of creative imagination. In this step-by-step guide, we will cover the essential stages of sculpting to help you embark on your artistic journey with confidence.
Step 1: Preparation and Planning
1.1. Define Your Idea
Before you begin, determine what you want to create. This could be something simple, like a small figurine, or more complex if you feel confident. Sketch your sculpture to visualize the final result.
1.2. Choose Your Material
The choice of material depends on your project and skill level. For beginners, it's best to use materials like clay, polymer clay, or even wax. Clay and polymer clay are easy to work with and do not require complex tools.
1.3. Prepare Your Workspace
Create a comfortable workspace where you can work efficiently. Make sure you have all the necessary tools: knives, spatulas, brushes, and a base for your work. Don't forget a protective surface to avoid damaging your table or workbench.
Step 2: Creating the Base
2.1. Form the Armature
If you are working on a larger sculpture, start by creating an armature. Use wire or other lightweight materials to build the basic structure. This will support the sculpture's structure, especially if you plan to work with large amounts of material.
2.2. Apply the Main Material
Apply a layer of the main material to the armature. If you're using clay, apply it in layers, gradually shaping the desired form. Make sure the material is evenly distributed over the armature and free of air bubbles.
Step 3: Shaping Details
3.1. Basic Shapes and Contours
Use primary tools to create the basic shapes and contours of the sculpture. Start with the larger forms and gradually move to smaller details. Work slowly and carefully to capture the desired shape accurately.
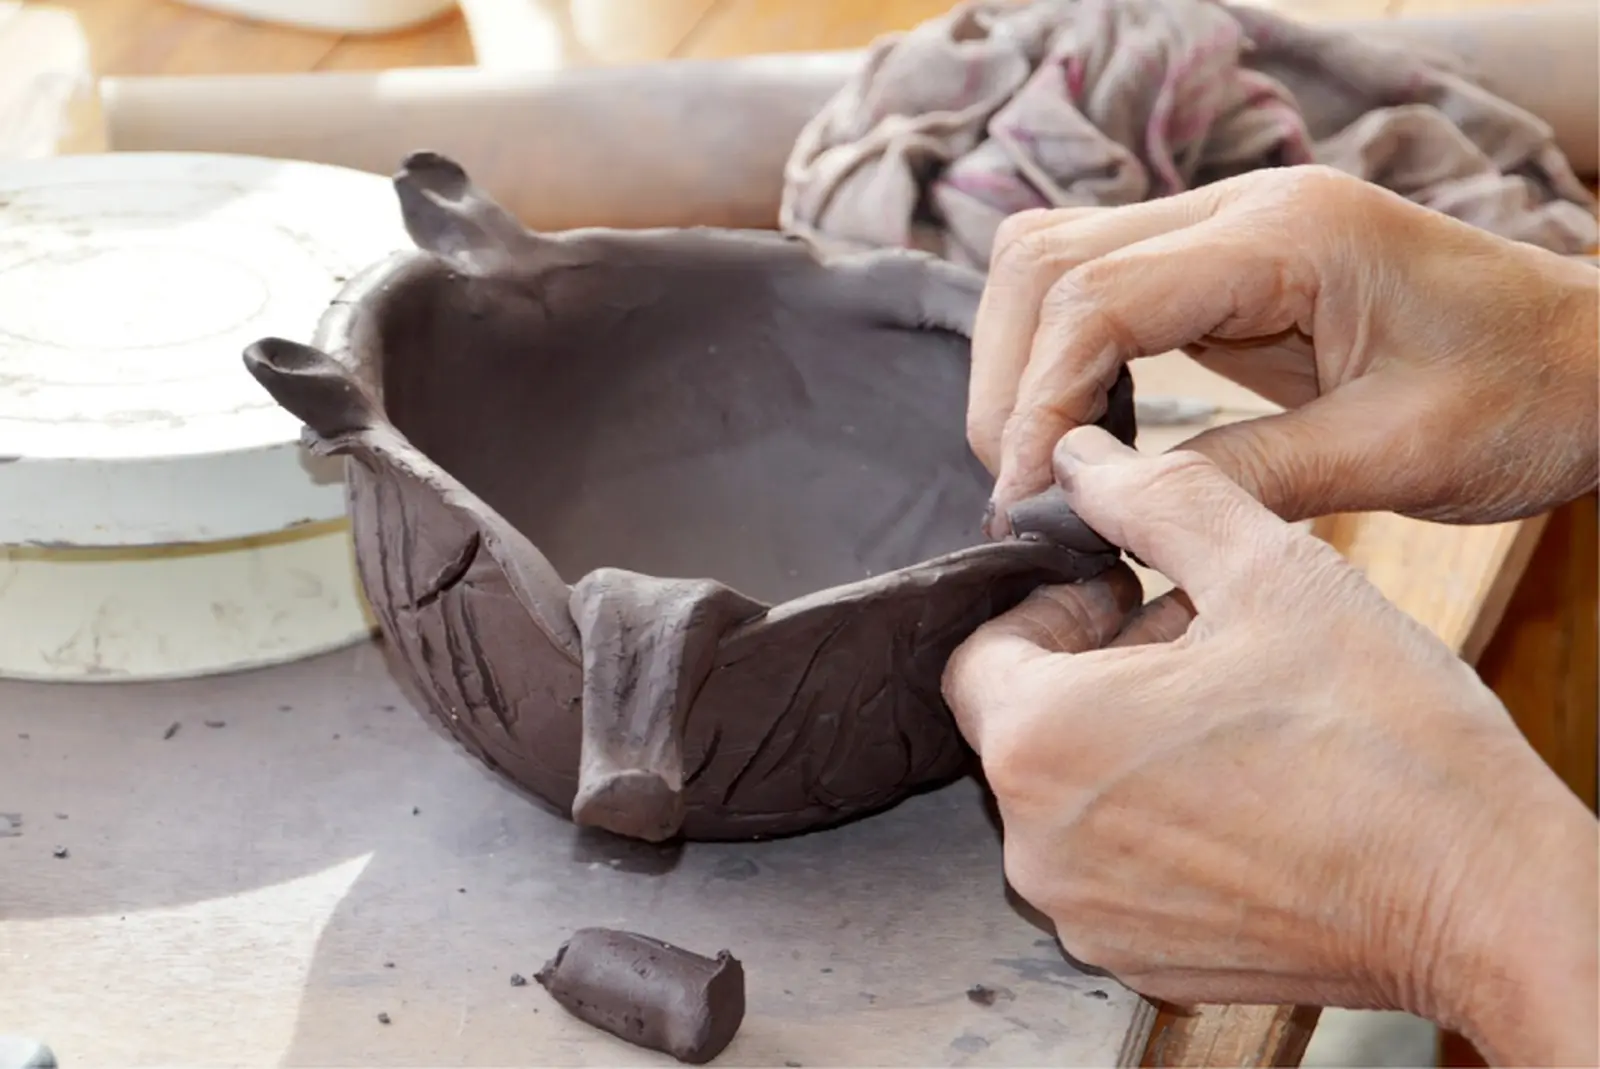
3.2. Texturing and Details
Once the basic shapes are established, add textures and finer details. These can include textures for skin, clothing, or other elements that enhance the sculpture's realism. Use tools to create the necessary details and textures.
Step 4: Finishing Touches
4.1. Drying and Curing
After completing the detailing, let the sculpture dry (if you are working with clay or polymer clay). Follow the manufacturer’s instructions for drying times. If using clay, it may need to be fired in a kiln to become durable.
4.2. Painting and Finishing
Once the sculpture is fully dry, you can paint it to add color and expression. Use acrylic paints or other suitable materials. Don’t forget to apply a protective varnish to preserve the result and protect the sculpture's surface.
4.3. Final Check and Corrections
After painting, carefully inspect the sculpture for any defects or issues. Make any necessary final adjustments and refinements. This will help ensure your work is polished and professionally completed.
Conclusion
Creating your first sculpture can be an engaging and inspiring process. By following these steps, you can make your work more organized and effective. Don’t be afraid to experiment and try new techniques. Over time, you will develop your skills and create increasingly complex and expressive works of art.